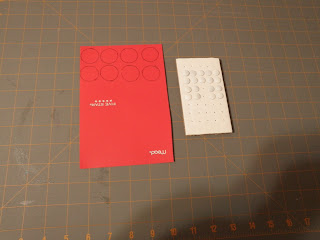
I thought that this would be really, really easy to make. So, here's how I made my own:
I cut out 8-1 inch circles (I traced a quarter) out of an old notebook cover (thin plastic)--I just wanted something to stabilize the cotton fabric used for the yo-yo. I used super-cheap flat-head push pins that would "disappear" in the middle of the yo-yos.
Next, I chose a colorful cotton fabric from my stash. I traced 8-2 1/2 inch circles onto the wrong side of the cotton. (I used the bottom of a spray paint can...I know, really scientific!) I cut out the circles leaving about a 1/4 inch extra ring around the circle, making the circle approximately 2 3/4 inches big.
 |
| Don't worry about that pencil line...it will disappear when the yo-yo is complete. |
Now the hard work is done...time to make the yo-yo. I used the pencil line as my guide as to how much to fold the edge of the circle. You will want to fold the edge in toward the plastic disk.
Then, you just pull the string to form the yo-yo, tie-off your thread. You could add small beads or buttons at this point if you wanted to add a little something-something. Otherwise...you are done!
 |
| The finished push-pin is just slightly larger than 1 inch around. |
If you haven't done yo-yos before, keep in mind that you want a pretty thin fabric--preferably cotton. This would not be a good project for denim or fleece!
Wouldn't these make great little gifts? I hope you are having a wonderful day. Take care of you!


No comments:
Post a Comment